🏠 Smart Home IoT Controller
Wireless IoT Devices · Home Gateway Configuration · IoT Registration & Control
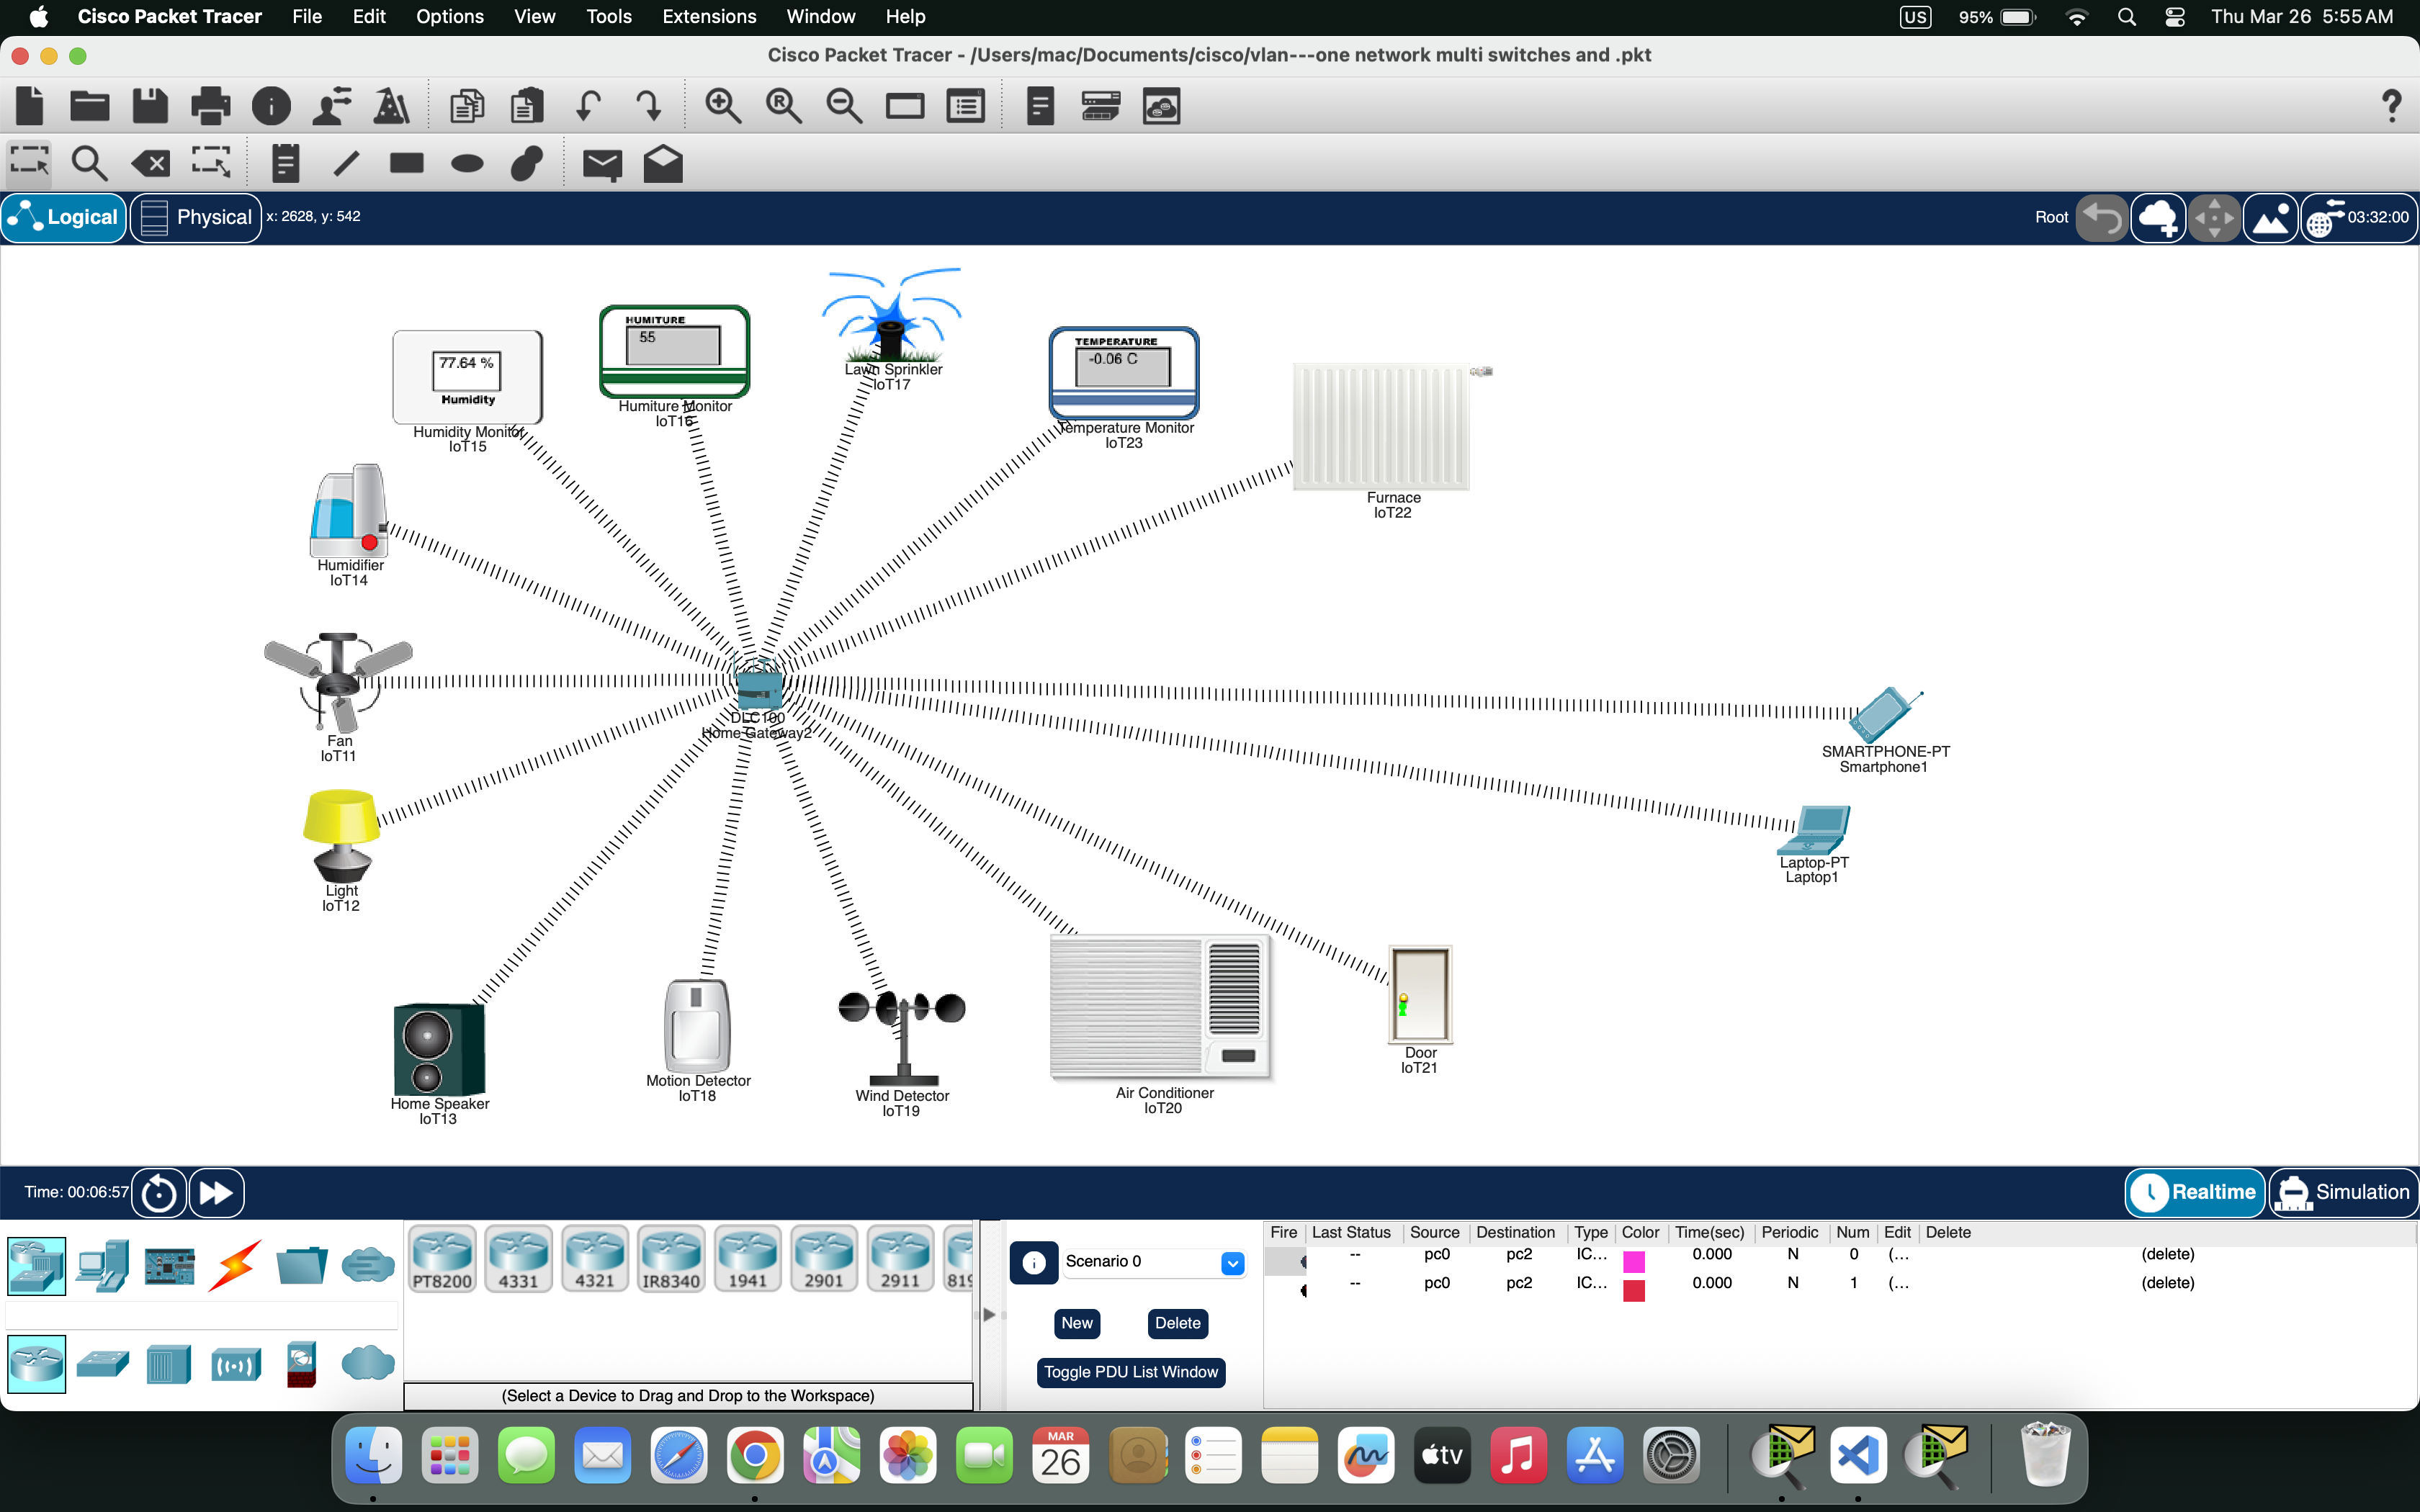
Network Topology – Smart Home IoT Architecture
📄 Packet Tracer File (Complete Smart Home IoT Lab)
Home Gateway · Light · Fan · AC · Speaker · Motion Sensor
👨💻 User Experience – What a User Actually Does
Imagine you are sitting in your living room with your laptop. You don't need to know anything about IP addresses, wireless configuration, or server settings. The moment you open your laptop, it automatically connects to the SmartHome-Network WiFi. To control your smart devices, you open the IoT Monitor application on your desktop. You log in with admin/admin, and instantly you see all your registered devices: Light, Fan, AC, Speaker, and Motion Sensor.
To turn on the living room light, you simply click the ON button next to "Light" — the light turns on instantly. To turn on the AC, you click its ON button. Everything is just one click away. Behind the scenes, the Home Gateway (192.168.25.1) receives your command and sends it wirelessly to the specific device. You don't need to know which IP address each device has — the Home Gateway handles all the addressing automatically.
If you want to check if motion is detected, you look at the Motion Sensor reading on the dashboard — it shows "Active" or "Inactive". The system can even be configured with automatic rules: when motion is detected, the light turns on automatically; when the temperature rises, the AC activates. From your perspective, the house just "knows" what to do — all the magic happens at the application layer, with protocols like DHCP assigning IPs and the IoT server managing device communication.
✨ Key takeaway: Users only need to click buttons in the IoT Monitor. The Home Gateway manages all wireless communication, device registration, and command delivery. This lab perfectly mirrors how real-world smart home systems like Amazon Alexa or Google Home work.
📝 Step-by-Step Implementation
Open Cisco Packet Tracer
Add devices to workspace:
- Network Devices → Wireless Devices → Drag Home Gateway
- IoT Devices → Home → Drag Light, Fan, AC, Speaker
- IoT Devices → Sensors → Drag Motion Detector
- End Devices → Drag Laptop (for control)
Position devices as shown in Figure 5.1 above
Click Home Gateway → Config tab → Wireless
- Set SSID:
SmartHome-Network - Set Channel: 6
- Ensure Wireless is ON
- Note the gateway IP:
192.168.25.1
For EACH IoT device (Light, Fan, AC, Speaker, Motion):
- Click device → Config tab → Wireless0
- Set SSID:
SmartHome-Network - Ensure Power is ON
- Set IP Configuration to DHCP (automatically gets IP from Home Gateway)
Fan: Connected to SmartHome-Network | IP: 192.168.25.51
AC: Connected to SmartHome-Network | IP: 192.168.25.52
Speaker: Connected to SmartHome-Network | IP: 192.168.25.53
Motion Sensor: Connected to SmartHome-Network | IP: 192.168.25.54
For EACH IoT device:
- In Config tab, scroll to IoT Server section
- Set Server Address to
192.168.25.1(Home Gateway IP) - Wait 5-10 seconds — device status will change to "Registered"
✅ Fan: Registered to IoT Server 192.168.25.1
✅ AC: Registered to IoT Server 192.168.25.1
✅ Speaker: Registered to IoT Server 192.168.25.1
✅ Motion Sensor: Registered to IoT Server 192.168.25.1
Connect Laptop to WiFi:
- Click Laptop → Config → Wireless0
- Select SSID:
SmartHome-Networkfrom dropdown - Laptop gets IP via DHCP (e.g., 192.168.25.100)
Verify Laptop IP:
- Laptop → Desktop → Command Prompt
- Type:
ipconfig→ IP should be 192.168.25.100 - Ping Home Gateway:
ping 192.168.25.1→ Should get replies
Open IoT Monitor:
- Laptop → Desktop → IoT Monitor (dashboard icon)
- Login with:
- IoT Server Address:
192.168.25.1 - Username:
admin - Password:
admin
- IoT Server Address:
- Click Login
Control Light:
- In IoT Monitor dashboard, find Light
- Click the ON button
- Observe: The Light in workspace changes appearance (turns on)
- Click OFF → Light turns off
Test all devices:
AC: Click ON → AC display shows cooling mode
Speaker: Click ON → Speaker icon shows active
Monitor Motion Sensor:
- Motion Sensor shows "Active" or "Inactive" status
In IoT Monitor, navigate to Rules/Conditions tab
Rule 1 - Motion-Activated Light:
THEN Light = ON
Delay: OFF after 30 seconds
Rule 2 - Welcome Home:
THEN Light = ON, Speaker = ON (Welcome message)
Rule 3 - Energy Saver:
THEN Light = OFF, Fan = OFF, Speaker = OFF, AC = OFF
To create a rule:
- Click Add Rule or Create Condition
- Select trigger device and condition (e.g., Motion Sensor = Active)
- Select action device and action (e.g., Light = ON)
- Click Save or Apply
In IoT Monitor, navigate to Scenes tab → Create New Scene
Movie Night Scene:
• Light → OFF
• AC → ON (set to 22°C)
• Fan → OFF
• Speaker → ON (Volume 40%)
Party Mode Scene:
• Light → ON (Brightness: 100%)
• Speaker → ON (Volume: 80%)
• Fan → ON
• AC → ON (20°C)
Sleep Mode Scene:
• Light → OFF
• Speaker → OFF
• Fan → ON (Low Speed)
• AC → ON (24°C)
To create a scene:
- Click Create New Scene
- Enter scene name (e.g., "Movie Night")
- Click Add Action for each device
- Select device and desired state (ON/OFF/specific value)
- Click Save Scene
Test Manual Control: Click each device ON/OFF → Verify devices respond
Test Motion Rule: Click Motion Sensor → Config → Set to "Active" → Light should turn ON
Test Scene: Click Movie Night scene → All devices change to scene settings
✅ Automatic rules triggering as configured
✅ Smart scenes executing multi-device commands
✅ Full smart home functionality verified
✅ Service Verification & Results
| Service/Feature | User Action | Expected Outcome | Status |
|---|---|---|---|
| Wireless Connectivity | Power on devices | All devices get IP from Home Gateway (192.168.25.x) | ✓ Success |
| IoT Registration | Set Server Address to 192.168.25.1 | All devices show "Registered" in Config tab | ✓ Success |
| IoT Monitor Access | Login with admin/admin | Dashboard shows all 5 registered devices | ✓ Success |
| Manual Device Control | Click ON/OFF buttons | Devices respond in workspace | ✓ Success |
| Motion-Activated Light | Trigger Motion Sensor | Light turns ON automatically | ✓ Success |
| Movie Night Scene | Click Scene button | Light OFF, AC ON, Fan OFF, Speaker ON | ✓ Success |
| Sensor Readings | View dashboard | Motion status displayed | ✓ Success |